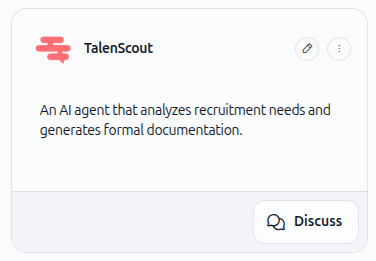
Agent as app
Written By Stanislas
Last updated 6 months ago
Share your AI agent as a standalone application that external users can access directly through a public URL. Turn your specialized agent into a customer-facing tool without requiring Swiftask accounts or complex integrations.
Agent as app lets you deploy your agent as an independent web application with a dedicated URL, customizable appearance, and full control over access, branding, and costs.
Overview
The agent as app feature transforms your Swiftask agent into a public-facing application that anyone can access through a unique URL. Unlike the widget (which embeds on websites), agent as app provides a full-page chat interface hosted by Swiftask.
You control every aspect of the experience—from the welcome message and brand colors to who pays for usage and how users interact with your agent. The agent maintains its full capabilities, including knowledge base access and configured skills.
Prerequisites
To deploy an agent as app, you need:
A Swiftask account (sign up at swiftask.ai)
An existing agent with configured objectives and instructions
Permission to create or edit agents in your workspace
Understanding of your agent's intended audience and use case
Step-by-step guide
1. Open your agent for editing
Navigate to the Agents section in the left sidebar and locate the agent you want to deploy as an app.
Click the pen icon button on the agent card to open the agent configuration page.
2. Navigate to agent as app settings
In the left sidebar of the agent configuration page, locate the More options section and click Agent as APP.
Toggle the Enable public mode switch to activate the agent as app feature.
3. Configure integration settings
Click the Integration tab to access sharing options.

The integration section displays two options:
Basic integration
Copy the iframe code to embed your agent app on any website. Simply paste this code into your website's HTML where you want the agent to appear.
With external context
Add context parameters to provide the agent with additional information about your specific requirements. This helps the agent provide more relevant and personalized responses by including details like customer name, order number, or product type directly in the integration code.
4. Customize appearance
Click the Appearance tab to personalize your agent app interface.
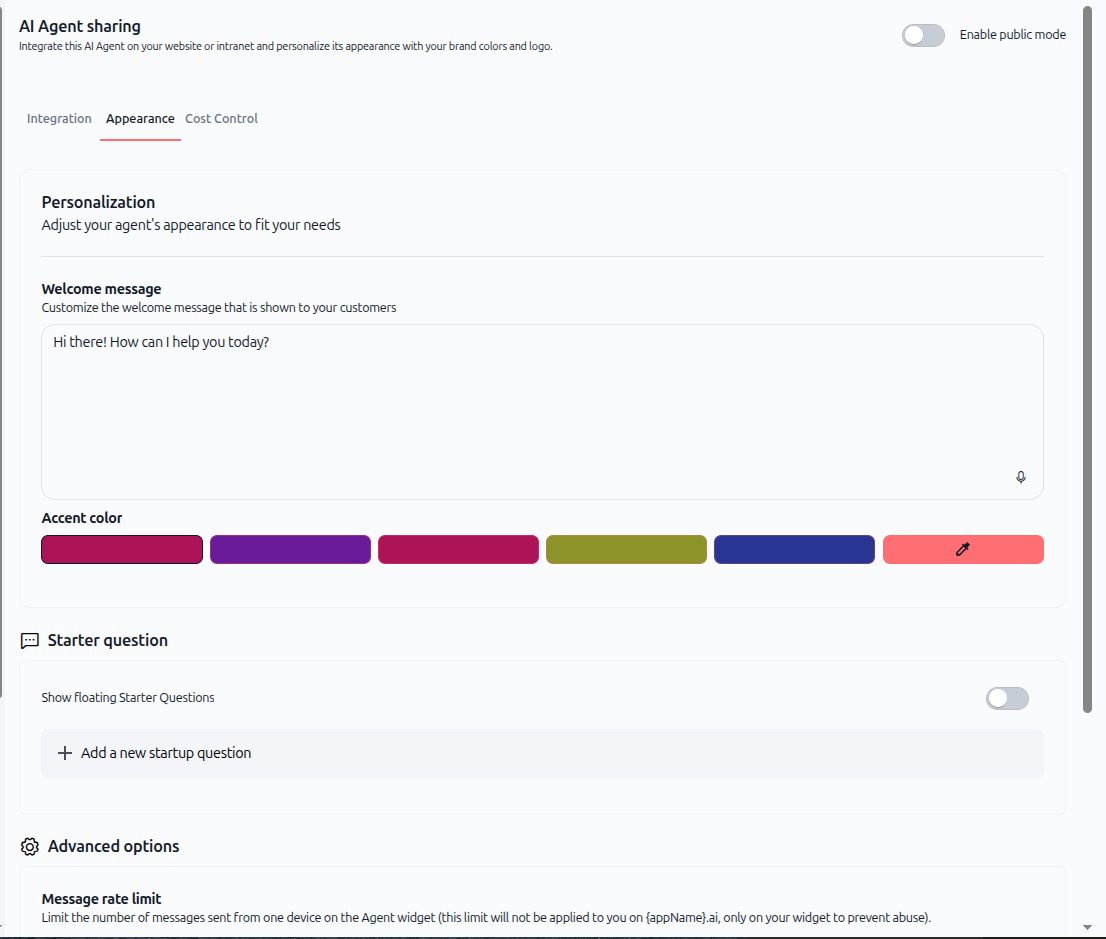
Configure the following settings:
Welcome message
Customize the welcome message that users see when they first open your agent app. Make it friendly, specific, and action-oriented.
Accent color
Select a color that matches your brand. Choose from preset colors or use the edit icon to define a custom color.
Starter question
Toggle Show floating Starter Questions to display suggested questions that guide users on what they can ask your agent.
Click Add a new startup question to create prompts that represent your agent's main use cases.
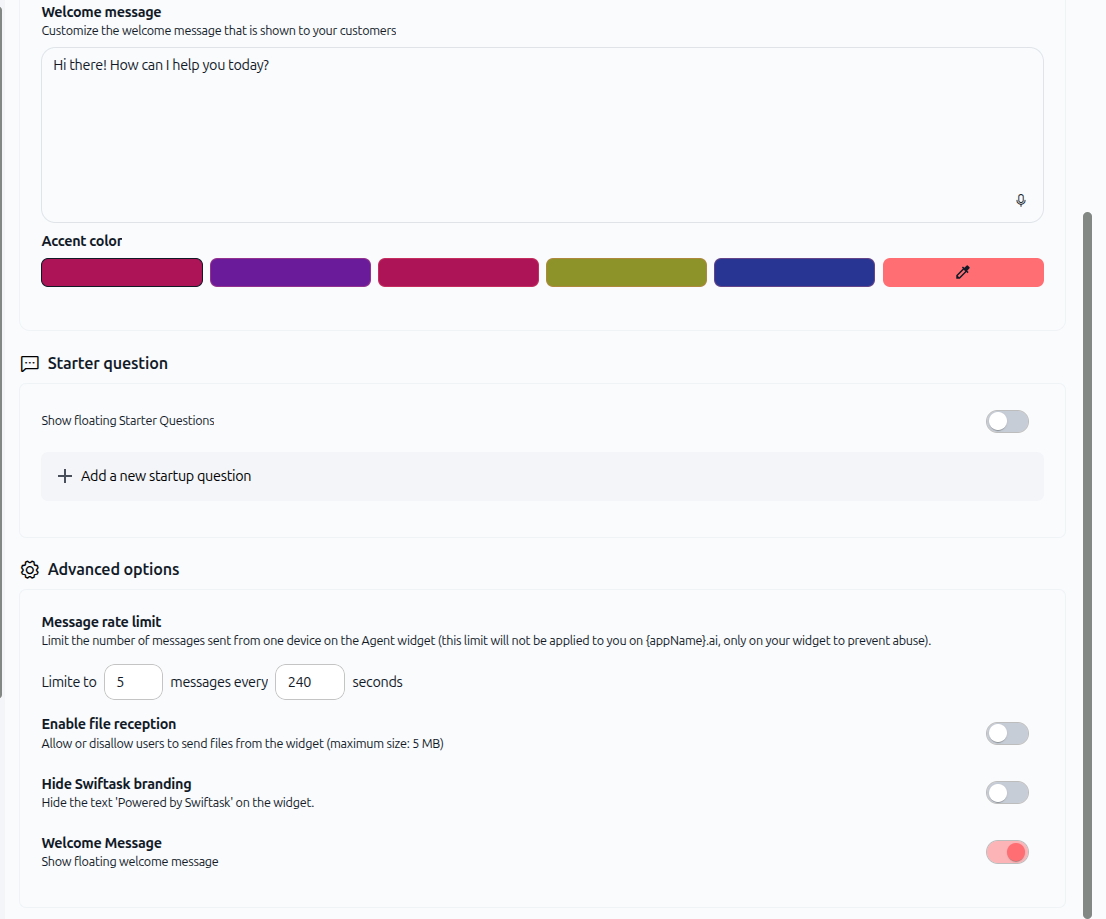
Advanced options
Expand the Advanced options section to configure additional settings:
Message rate limit – Limit the number of messages sent from one device on the agent app (this limit will not be applied to you, only on your app to prevent abuse). Set the number of messages and time interval in seconds.
Enable file reception – Allow or disallow users to send files from the app (maximum size: 5 MB).
Hide Swiftask branding – Hide the text "Powered by Swiftask" on the app.
Welcome Message – Show floating welcome message when users first access the app.
5. Set up cost control
Click the Cost Control tab to manage ownership and billing.
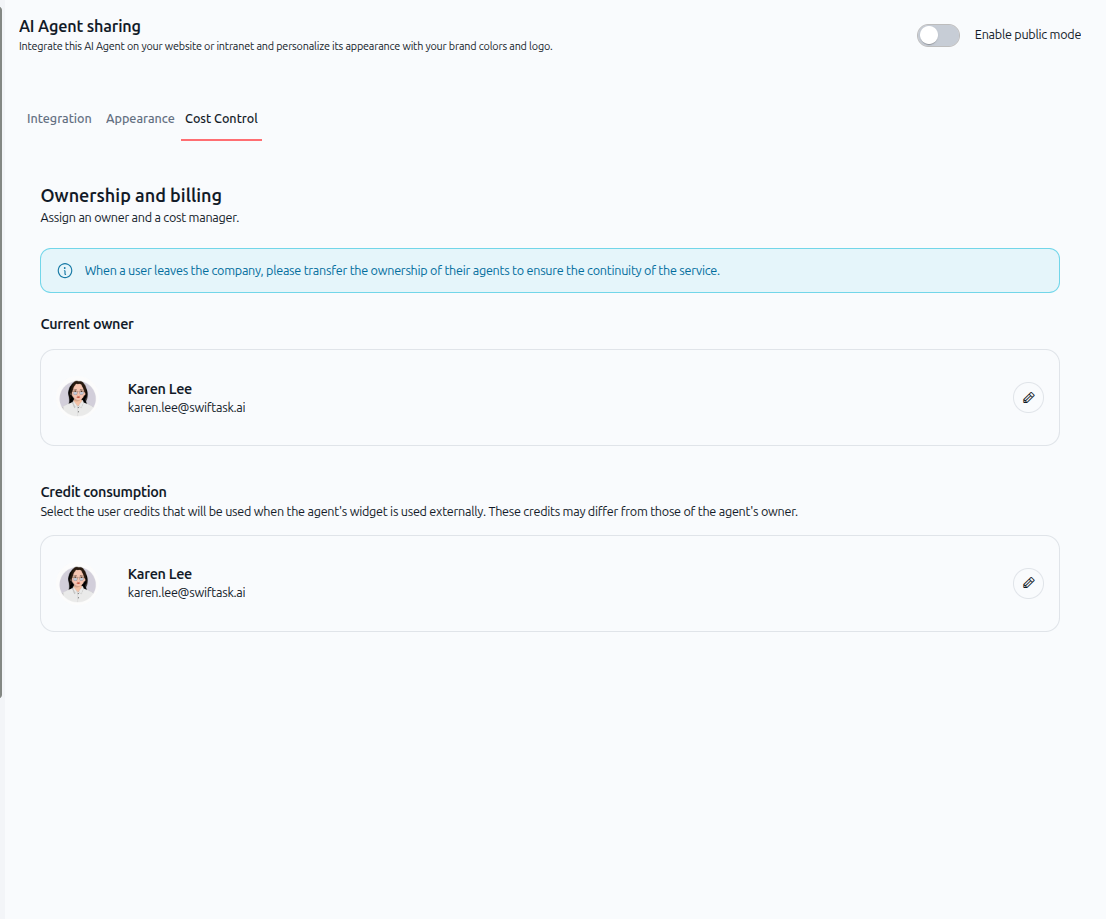
Ownership and billing
Assign an owner and a cost manager for your agent app.
Current owner – The person responsible for the agent. When a user leaves the company, please transfer the ownership of their agents to ensure the continuity of the service.
Credit consumption – Select the user credits that will be used when the agent app is used externally. These credits may differ from those of the agent's owner.
This separation allows you to control costs precisely and track usage for external interactions separately from internal workspace usage.
Practical use cases
Customer support portal
Deploy a support agent as a standalone app for customers to access 24/7. Connect the agent to your product documentation and FAQ so it provides accurate, instant answers without requiring a support ticket.
Lead qualification tool
Create a public agent app that engages website visitors, qualifies leads, and collects contact information. Use starter questions like "What are you looking for?" or "Tell us about your project" to guide conversations.
HR assistant for candidates
Share an HR agent app on your careers page to answer questions about open positions, company culture, and application processes. Reduce the load on your HR team while providing instant responses to candidates.
Product demo and onboarding
Build an agent app that guides prospects through your product features and answers pre-sales questions. Connect it to product documentation and case studies for informed responses.
Tips & best practices
Write a clear welcome message
Your welcome message is the first thing users see. Make it friendly, specific, and action-oriented. Instead of "Hello," try "Hi! I can help you find products, answer questions, or connect you with support. What can I do for you?"
Use starter questions to guide users
Starter questions reduce friction and show users what your agent can do. Choose 3-4 common questions that represent your agent's main use cases.
Set rate limits to control costs
Agent app interactions consume credits from your workspace. Use message rate limits to prevent abuse while ensuring legitimate users have a smooth experience.
Choose the right credit account
Assign credit consumption to a dedicated account for external usage. This gives you clear visibility into costs and prevents external usage from impacting internal workspace operations.
Test before sharing
Always test your agent app thoroughly before sharing the public URL. Verify that the welcome message, starter questions, and agent responses work as expected.
Monitor usage regularly
Check your agent's usage metrics to understand how external users interact with it. Adjust rate limits, refine instructions, or update knowledge sources based on real usage patterns.
Additional resources
Introduction to agents – Learn what agents are and how they work
Create ai agent step by step – Build your first custom agent
Embed and widget – Deploy your agent as a website widget
Workspace administration – Manage roles and permissions in your workspace
Ready to deploy your agent as an app? Open your agent, click the pen icon to edit, navigate to Agent as APP, enable public mode, and configure your settings. Your agent will be accessible to external users in minutes.