Sources (Konwledge Base)
Written By Stanislas
Last updated 6 months ago
Add files, documents, and data sources your agent can access to provide accurate, contextual answers. Your agent's knowledge base determines what information it can reference when responding to users. Without a knowledge base, your agent relies only on its training data—with a knowledge base, it becomes an expert on your specific content.
Think of the knowledge base as your agent's library. The more relevant information you add, the more accurate and useful your agent becomes for specialized tasks.
Overview
The knowledge base section lets you connect documents and data sources to your agent. Once connected, your agent can search, analyze, and reference this information when answering questions or performing tasks.
You can add multiple types of sources:
Files – Upload PDFs, DOCX, XLSX, CSV, and other document formats
Documents – Create internal notes and guides directly in Swiftask
Web content – Import webpages, websites, or sitemaps
Cloud connectors – Sync content from SharePoint, Google Drive, or Dropbox
Workspace knowledge – Reuse existing data sources from your workspace
Each source is processed, indexed, and made searchable for your agent. Your agent uses this content to provide context-aware responses based on your organization's specific information.
Prerequisites
To configure a knowledge base for your agent, you need:
A Swiftask account (sign up at swiftask.ai)
An existing agent (or be in the process of creating one)
Documents or data sources you want your agent to access
Permission to create or edit agents in your workspace
Step-by-step guide
Continuing from the TalentScout DocGen HR agent example, we'll add an HR Department Handbook as a knowledge source so the agent can reference company policies when generating recruitment documents.
1. Navigate to the knowledge base section
After configuring your agent's objectives and instructions, scroll down or click Knowledge base (Data) in the left sidebar of the agent configuration screen.
The knowledge base section displays several options for adding content:
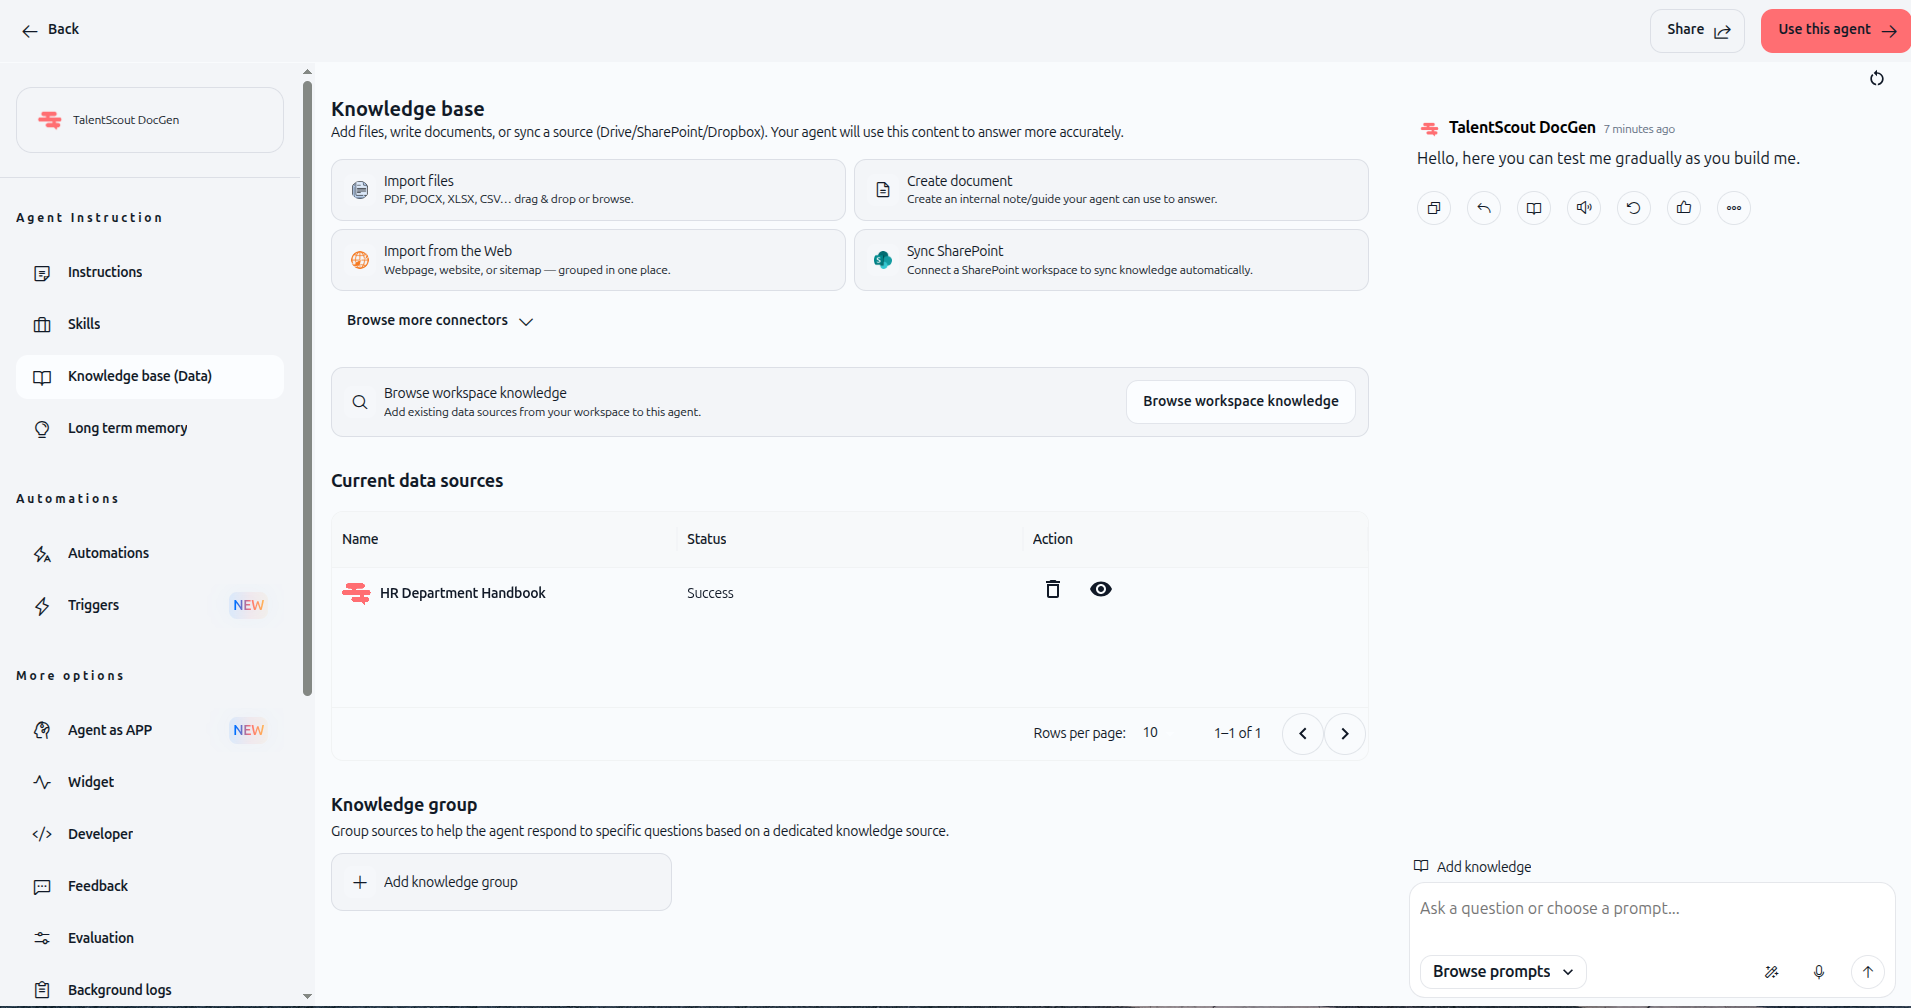
Import files – Upload PDF, DOCX, XLSX, CSV, and other document formats. Drag and drop or browse to select files from your computer.
Create document – Write an internal note or guide directly in Swiftask. This is ideal for creating reference material your agent can use to answer questions.
Import from the Web – Add webpage content, entire websites, or sitemaps. Your agent will extract and index the content automatically.
Sync SharePoint – Connect a SharePoint workspace to sync knowledge automatically. Your agent stays updated as documents change.
Browse more connectors – Access additional cloud integrations like Google Drive and Dropbox to sync files from external sources.
Browse workspace knowledge – Reuse existing data sources from your workspace. If your team has already uploaded documents to the workspace knowledge base, you can connect them to this agent instantly.
2. Choose your knowledge source
For this example, we'll create a document directly in Swiftask. Click Create document.
A document editor opens where you can write or paste content.
3. Add content to your document
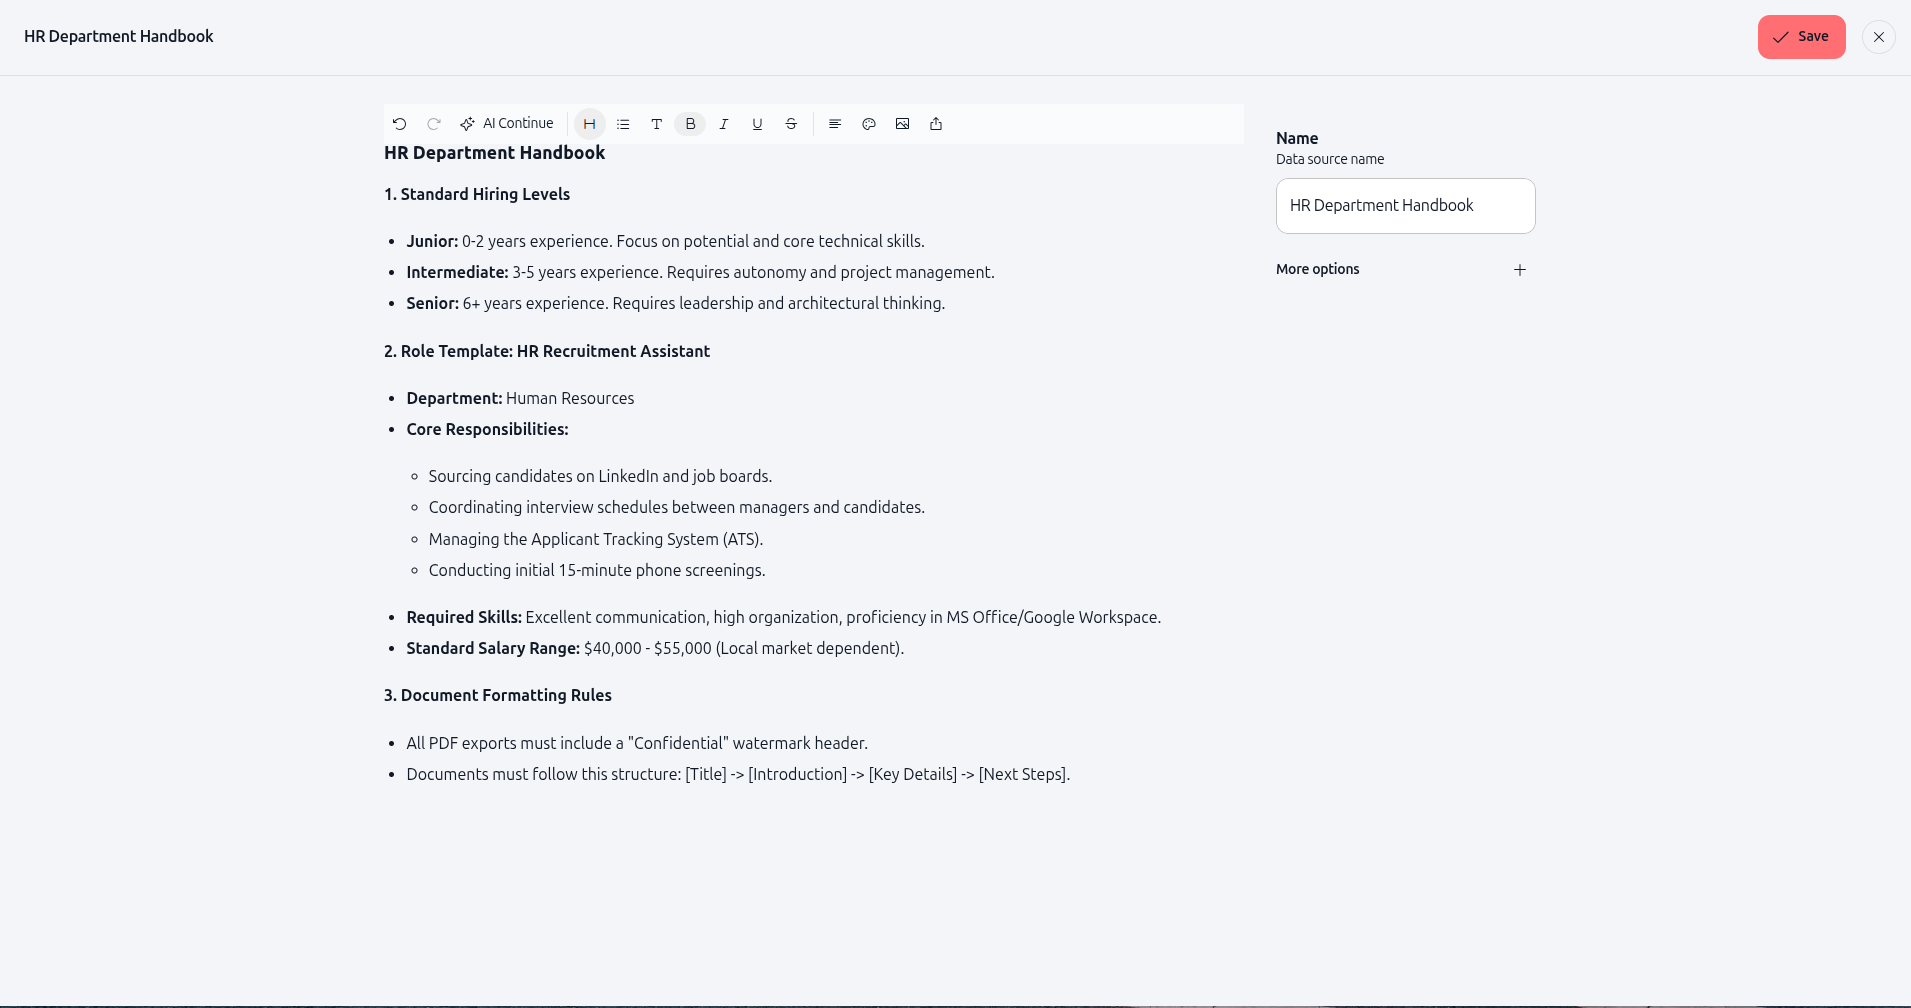
Write or paste the content you want your agent to reference. For our HR agent, we'll add an HR Department Handbook with recruitment guidelines.
Example content:
HR Department Handbook
1. Standard Hiring Levels
- Junior: 0-2 years experience. Focus on potential and core technical skills.
- Intermediate: 3-5 years experience. Requires autonomy and project management.
- Senior: 6+ years experience. Requires leadership and architectural thinking.
2. Role Template: HR Recruitment Assistant
- Department: Human Resources
- Core Responsibilities:
Sourcing candidates on LinkedIn and job boards.
Coordinating interview schedules between managers and candidates.
Managing the Applicant Tracking System (ATS).
Conducting initial 15-minute phone screenings.
- Required Skills: Excellent communication, high organization, proficiency in MS Office/Google Workspace.
- Standard Salary Range: $40,000 - $55,000 (Local market dependent).
3. Document Formatting Rules
- All PDF exports must include a "Confidential" watermark header.
- Documents must follow this structure: [Title] -> [Introduction] -> [Key Details] -> [Next Steps].
In the right panel, enter a Name for your data source. For our example, enter: HR Department Handbook
Click Save (the checkmark button in the top-right corner).
4. View your connected knowledge base
Once saved, you'll return to the knowledge base section. Your new document appears in the Current data sources list.

The list displays:
Name – The title of your data source (e.g., "HR Department Handbook")
Status – Shows "Success" when the document is indexed and ready
Action – Delete (trash icon) or view (eye icon) the source
You can add multiple sources to the same agent. Each source is indexed separately, and your agent searches across all connected sources when answering questions.
Knowledge groups (optional)
Below the current data sources, you'll see a Knowledge group section. This advanced feature lets you group sources and configure when the agent should use each group.
For example, you could create separate knowledge groups for:
HR Policies – Used when answering policy-related questions
Recruitment Templates – Used when generating job descriptions
Legal Compliance – Used when reviewing contracts
Click Add knowledge group to create a group. You can then assign specific sources to each group and define rules for when the agent should prioritize each group.
This is optional and most agents work well with all sources in a single default group.
Practical use cases
HR agent with recruitment guidelines
Add your company's hiring standards, role templates, and interview processes. When users ask the agent to create a job description, it references your specific guidelines and generates documents that match your company's standards.
Customer support agent with product documentation
Upload your product manuals, FAQ documents, and troubleshooting guides. When customers ask questions, the agent searches your documentation and provides accurate, company-specific answers instead of generic responses.
Compliance agent with regulatory documents
Connect legal and compliance documents, industry regulations, and internal policies. The agent can review contracts, answer compliance questions, and flag potential issues based on your organization's specific requirements.
Marketing agent with brand guidelines
Add brand guidelines, past campaign documents, and market research. When creating marketing content, the agent follows your brand voice, references past successful campaigns, and aligns with your strategic goals.
Tips & best practices
Start with your most important documents
Don't try to upload everything at once. Start with 2-3 core documents that contain the most critical information for your agent. Test the agent's responses, then add more sources as needed.
Keep documents focused and organized
Instead of one massive document, use multiple smaller, focused documents. For example, separate "Recruitment Guidelines" from "Interview Process" from "Salary Ranges." This makes it easier for the agent to find relevant information quickly.
Use clear, descriptive names
Name your data sources clearly so you can identify them later. Instead of "Document 1," use "HR Hiring Standards 2025" or "Product Manual v3.2."
Update sources regularly
If your documentation changes, update or replace the knowledge base sources. Outdated information leads to incorrect agent responses. Use cloud connectors (SharePoint, Google Drive) for automatic syncing if your documents change frequently.
Test your agent after adding sources
After connecting a knowledge base, test your agent by asking questions that should reference the new content. Verify that the agent cites the correct information and provides accurate answers.
Remove unused sources
If a source is no longer relevant, delete it. Too many irrelevant sources can slow down the agent's search and reduce answer accuracy.
What happens next
Once you've configured your agent's knowledge base, you're ready to move to the next steps:
Skills (AI Tools) – Add tools and integrations your agent can use to perform actions like exporting files, sending emails, or querying databases
Testing & Iterations – Test your agent with real questions and refine the knowledge base based on results
Sharing your agent – Make your agent available to teammates or deploy it for external use
Your agent now has the knowledge it needs to provide accurate, contextual answers. The next step is to add skills that let your agent take action.
Additional resources
Introduction to Agents – Learn what agents are and how they work
Setting objectives & instructions – Define your agent's role and behavior
Skills (AI Tools) – Add capabilities like file export and email
Browse workspace knowledge – Explore existing data sources in your workspace
Ready to add knowledge to your agent? Navigate to the knowledge base section, choose a source type, and connect your first document. Your agent will immediately start using this content to provide better answers.