Company
Written By Stanislas
Last updated 6 months ago
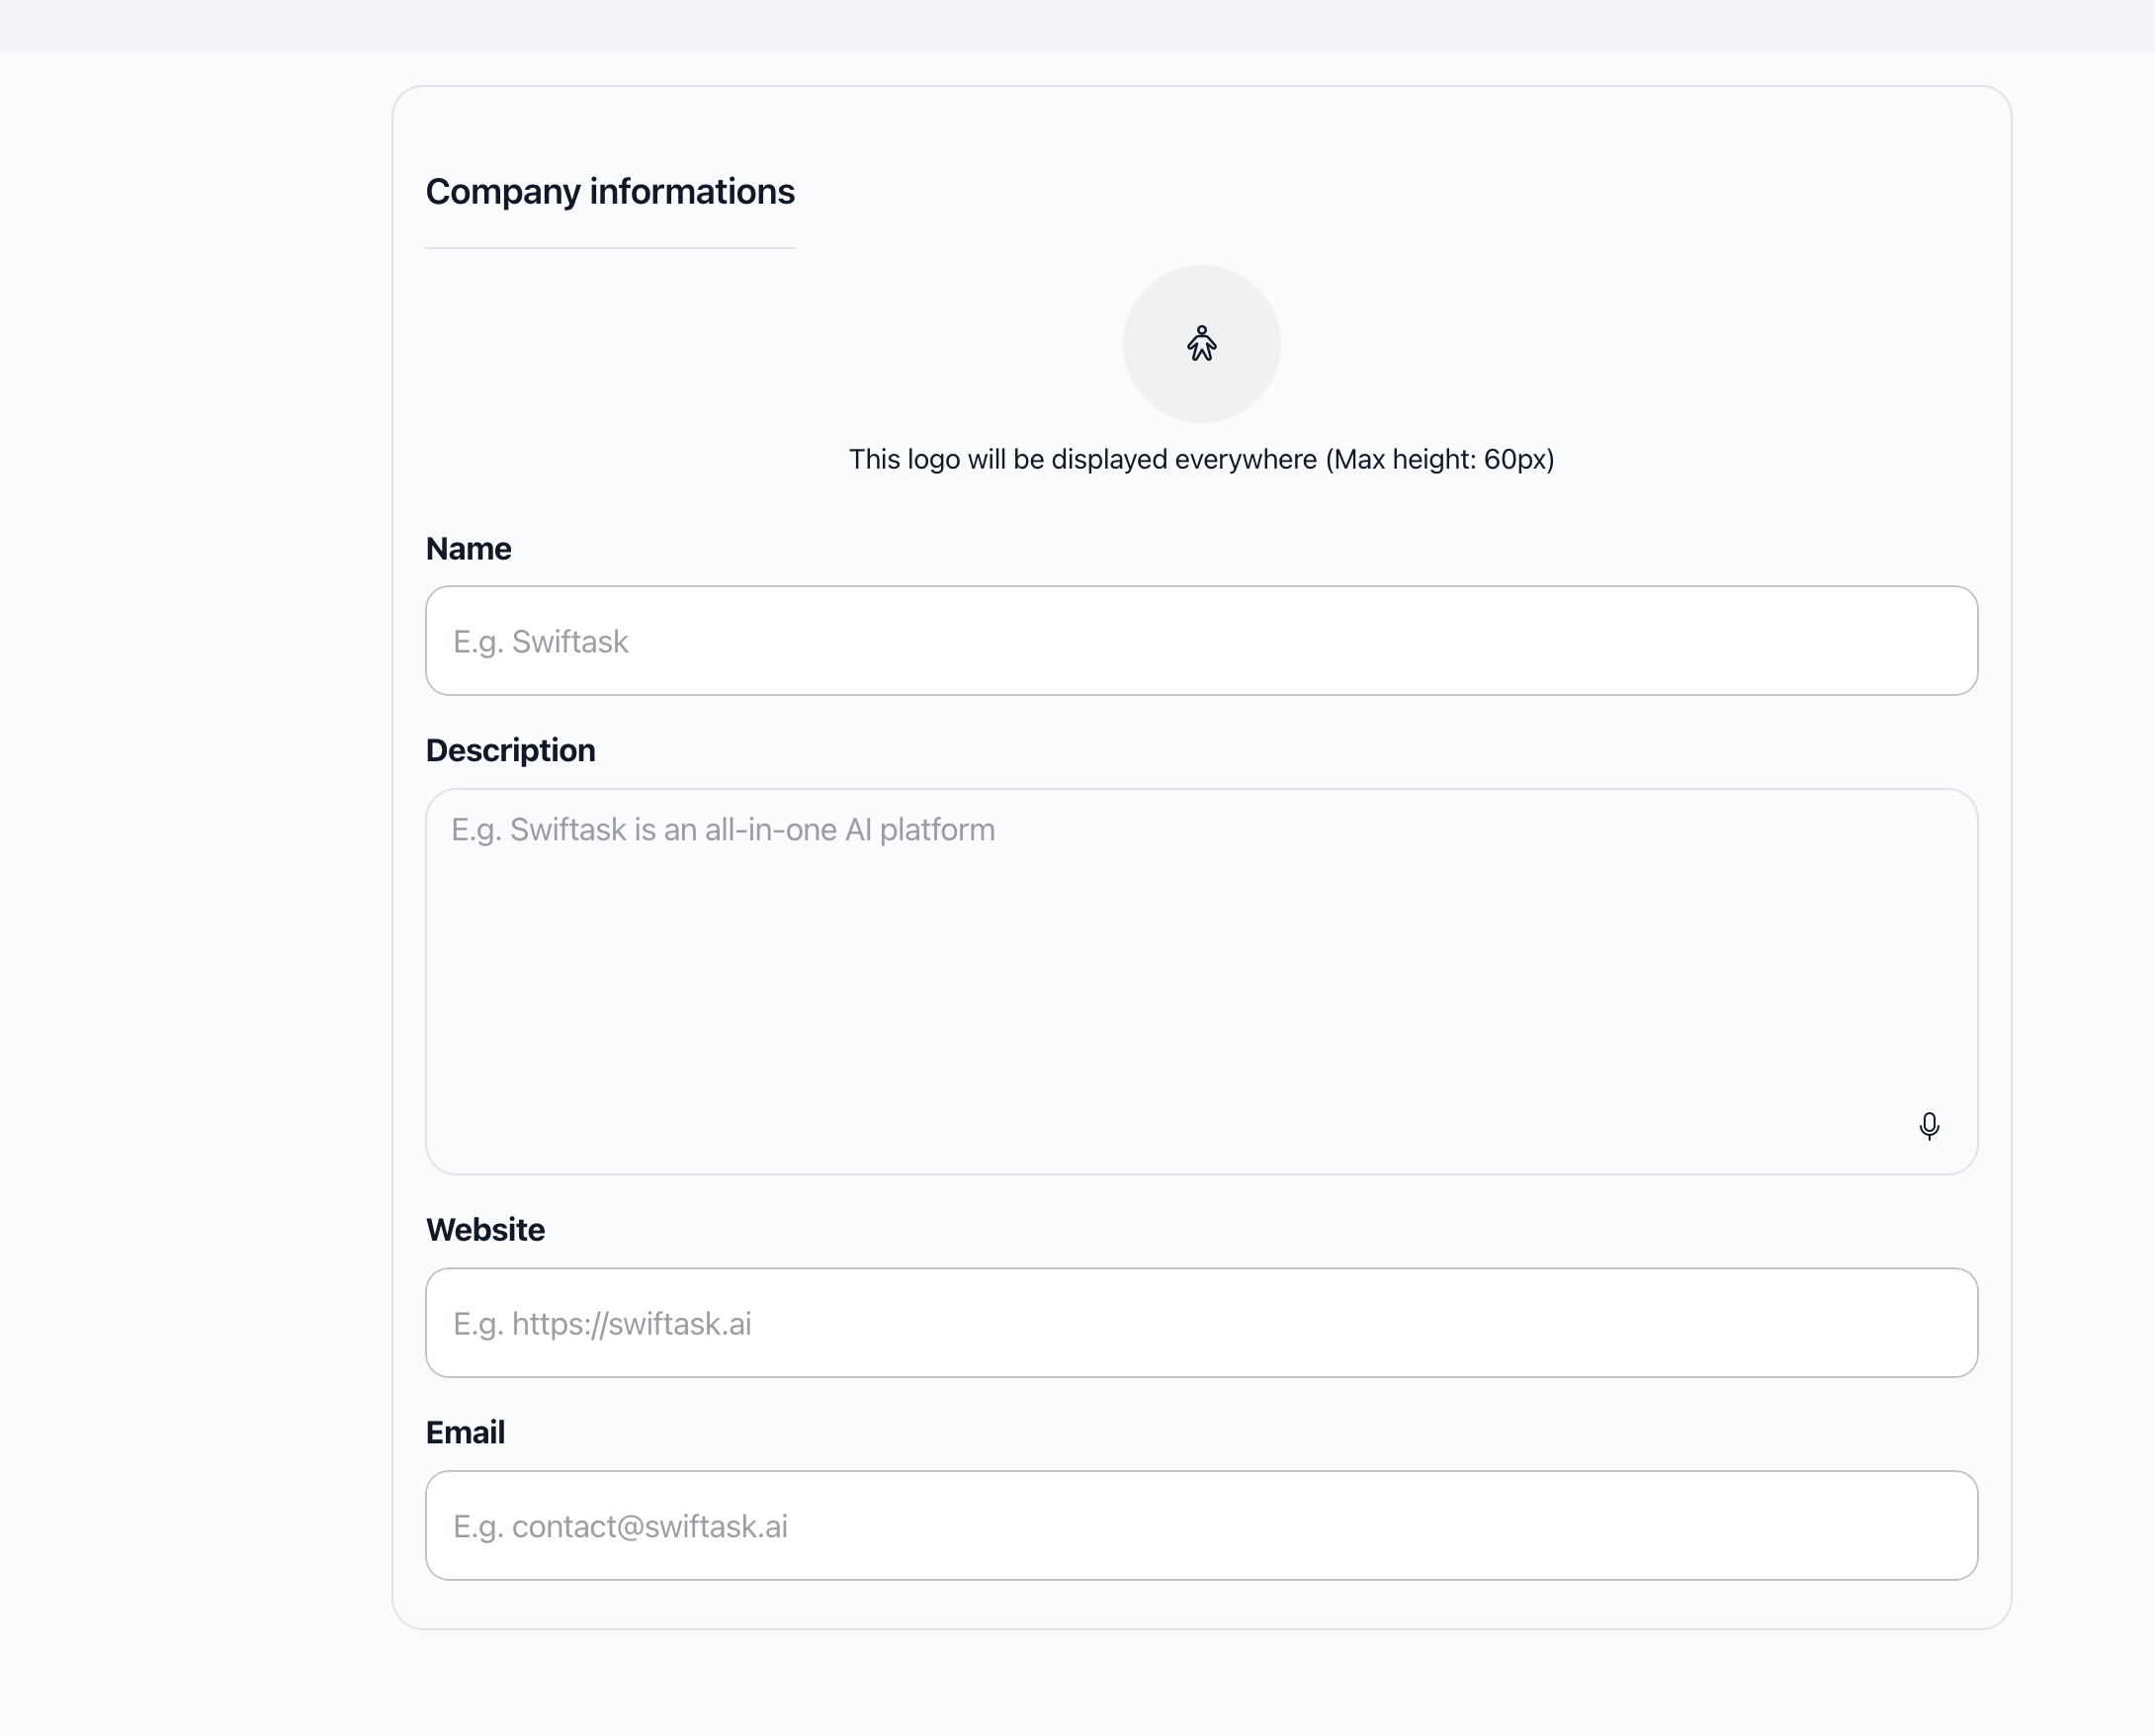
The Company section allows you to configure your company information associated with the workspace. This information personalizes the user experience and can be displayed in various contexts throughout the application, including widgets, emails, and customized interfaces.
Setting up company information helps establish your workspace's identity and provides context for all members. A well-configured company profile ensures consistency across your workspace and makes your organization easily recognizable.
Overview
Company information includes your organization's basic details that represent your workspace identity.
What you can configure:
Logo – Your company logo displayed throughout the application
Name – Your official company name (required)
Description – A brief explanation of your company's activities
Website – Your company's website URL
Email – Your company's contact email address
Where this information appears:
Workspace widgets and embeds
Email notifications
Shared resources and public-facing interfaces
Customized application contexts
Prerequisites
To configure company information, you need:
Admin or Owner role in your workspace
Access to Workspace administration
Only Admins and Owners can modify company information. Other users can view but not edit these details.
Accessing company information
To configure company information:
Click Company in the left sidebar (building icon)
You'll see the "Company informations" page
Route: /{workspaceId}/workspace/company-info
Configuring company information
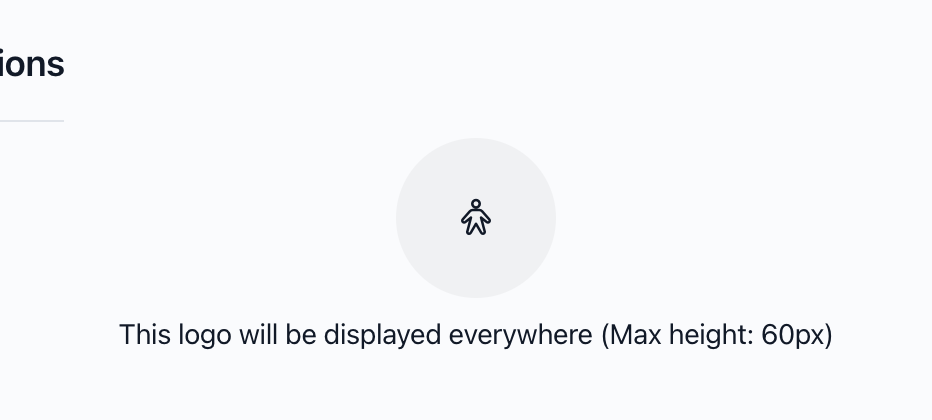
Logo (optional)
Description: "This logo will be displayed everywhere (Max height: 60px)"
To upload a logo:
Click on the logo area
Select an image file from your computer
The logo appears immediately in preview
Changes are saved automatically
Requirements:
Maximum height: 60 pixels (automatically resized if necessary)
Accepted formats: JPG, PNG, GIF, SVG, etc.
File size: Check size limits according to your configuration
Best practice: Use a logo with a transparent background (PNG format) for better rendering.
Name (required)
Label: "Name"
Placeholder: "E.g. Swiftask"
To set the company name:
Enter your official company name in the field
Changes are saved automatically after a few seconds
Validation:
Required: This field cannot be empty
Error message: "Company name is required" if left empty
Usage: This name will be used in various contexts throughout the application.
Best practice: Use your company's official name as it appears on legal documents. Avoid abbreviations unless that's your official name.
Description (optional)
Label: "Description"
Placeholder: "E.g. Swiftask is an all-in-one AI platform"
To add a description:
Enter a brief description of your company in the text area
Changes are saved automatically
Features:
Multi-line text area
Optional field (can remain empty)
Voice input icon may be available (depending on configuration)
Best practice:
Keep it concise: 2-3 sentences maximum
Be informative: Describe your company's main activities
Use professional tone: Appropriate for business context
Example:
"Acme Corporation is a technology company specializing in innovative AI solutions for enterprise clients worldwide." Website (optional)
Label: "Website"
Placeholder: "E.g. https://swiftask.ai"
To add your website:
Enter your company's complete website URL
Include the protocol (https://)
Changes are saved automatically
Validation:
URL format required: Must be a valid URL (starts with http:// or https://)
Error message: "Please enter a valid website URL" if format is incorrect
Optional: This field can remain empty
Valid examples:
https://swiftask.ai https://www.example.com http://example.com Best practice: Always use HTTPS for security.
Email (optional)
Label: "Email"
Placeholder: "E.g. contact@swiftask.ai"
To add a contact email:
Enter your company's contact email address
Changes are saved automatically
Validation:
Email format required: Must be a valid email address
Error message: "Please enter a valid email address" if format is incorrect
Optional: This field can remain empty
Valid examples:
contact@swiftask.ai info@example.com support@company.com Best practice: Use a generic email address (contact@, info@, support@) rather than a personal address.
How auto-save works
Automatic saving
All fields are saved automatically after modification:
Delay: Saving occurs a few seconds after you finish typing
Confirmation: A success message appears: "Company informations saved successfully"
Error handling: If saving fails, an error message displays: "Failed to save company informations"
Real-time validation
Validations are performed as you type
Errors appear immediately below the relevant fields
The form cannot be submitted if errors are present
No manual save button needed – Just fill in the fields and wait a few seconds for automatic saving.
Practical use cases
Case 1: Initial configuration
Objective: Set up basic company information
Steps:
Navigate to Company in the sidebar
Upload your company logo (max height 60px)
Enter the name: "Acme Corporation"
Add description: "Acme Corporation is a technology company specializing in innovative solutions."
Enter website: "https://www.acme-corp.com"
Enter email: "contact@acme-corp.com"
Changes are saved automatically
Result: Your workspace now has complete company information displayed throughout the application.
Case 2: Update company logo
Objective: Change the company logo
Steps:
Navigate to Company
Click on the logo area
Select the new image file
Verify the height doesn't exceed 60px
The logo updates automatically
Result: The new logo appears immediately throughout the workspace.
Case 3: Add contact information
Objective: Add website and contact email
Steps:
Navigate to Company
In the "Website" field, enter: "https://www.example.com"
In the "Email" field, enter: "info@example.com"
Information is saved automatically
Result: Contact information is now available for users and displayed in relevant contexts.
Best practices
Logo recommendations
Format: PNG with transparent background
Size: Respect the maximum height of 60 pixels
Quality: Use high-resolution images for better rendering
Aspect ratio: Square or horizontal rectangular logos work well
Company name
Use the official company name as it appears on legal documents
Avoid abbreviations unless that's your official name
Consistency: Use the same name everywhere in the application
Description
Be concise: 2-3 sentences maximum
Be informative: Describe the company's main activities
Be professional: Use tone appropriate for business context
Website
Always include
https://for securityComplete URL: Include
wwwif that's your primary URLVerify the URL is accessible before saving
Generic email: Use contact@, info@, or support@ rather than a personal address
Verify the email is active and monitored regularly
Standard format: Follow the format name@domain.com
Limitations and important notes
Permissions
Only Admins and Owners can modify company information
Other users can view but not edit
If you can't edit fields, you don't have the necessary permissions
Logo requirements
Maximum height: 60 pixels (automatic resizing)
File size: Check size limits according to your configuration
Formats: All standard image formats are accepted
Validation rules
Name required: The "Name" field cannot be empty
URL format: Website must be a valid URL (http:// or https://)
Email format: Email must follow standard format
Auto-save behavior
Automatic: No need to click "Save"
Delay: A few seconds after you finish typing
Connection: Ensure you have an active internet connection
Troubleshooting
Issue: I can't modify the information
Cause: You don't have Admin or Owner permissions.
Solution: Contact a workspace administrator to obtain permissions.
Issue: Logo doesn't display correctly
Possible causes:
Height exceeds 60px (automatic resizing)
Unsupported file format
Connection problem during upload
Solutions:
Verify your logo respects the maximum height
Use a standard format (PNG, JPG)
Try uploading again
Issue: Website URL is rejected
Cause: Invalid URL format.
Solution: Ensure the URL starts with http:// or https://
Examples:
✓ https://www.example.com ✓ http://example.com ✗ www.example.com (missing protocol) ✗ example.com (missing protocol) Issue: Email is rejected
Cause: Invalid email format.
Solution: Verify the email follows the format name@domain.com
Examples:
✓ contact@swiftask.ai ✓ info@example.com ✗ contact@swiftask (missing domain extension) ✗ @swiftask.ai (missing username) Issue: Changes aren't saving
Possible causes:
Internet connection problem
Field is being saved (wait a few seconds)
You don't have permissions
Solutions:
Check your internet connection
Wait a few seconds, saving is automatic
Refresh the page if necessary
Verify your permissions
Frequently asked questions
Can I leave some fields empty?
Yes, all fields are optional except the name, which is required.
Is the logo mandatory?
No, the logo is optional. You can leave this field empty.
Where will the logo be displayed?
The logo can be displayed in various contexts throughout the application, including widgets, emails, and other customized interfaces.
Can I use a URL without https://?
No, the URL must start with http:// or https:// to be valid. It's recommended to use https:// for security.
What happens if I only fill in the name?
That's sufficient. The name is the only required field. All other fields are optional.
Are changes immediate?
Changes are saved automatically a few seconds after you finish typing. A confirmation message appears once saving is successful.
Can I modify the information multiple times?
Yes, you can modify the information as many times as necessary. Each modification is saved automatically.
What if I make a mistake?
Simply correct the field and the new value will be saved automatically after a few seconds.
Does changing company information affect existing content?
No, changing company information only affects how your workspace is displayed. Existing content, agents, and resources are not affected.
Additional resources
Workspace administration – Overview of all admin features
Advanced settings – Configure workspace defaults
Managing members – Control who can access and modify workspace settings
Ready to configure your company information? Navigate to Company in the left sidebar to set up your organization's identity.