Overview
Written By Stanislas
Last updated About 1 month ago
Overview
Swiftask Code is your AI coding assistant for VS Code. Ask questions, build features, fix bugs, and review every change — with your team's policies built in.
Swiftask Code is for developers and teams who want AI help in the editor they already use, without losing control. Your chats stay on your computer. Your organization chooses which AI models you can use and how usage is tracked.
Prerequisites
You need VS Code 1.85 or newer to use Swiftask Code, and a Swiftask account (sign in here).
At a glance:
Step-by-step guide
1. Install
Open Extensions (
Cmd+Shift+Xon Mac,Ctrl+Shift+Xon Windows/Linux)Search for Swiftask code
Click Install
Or install from the Marketplace.
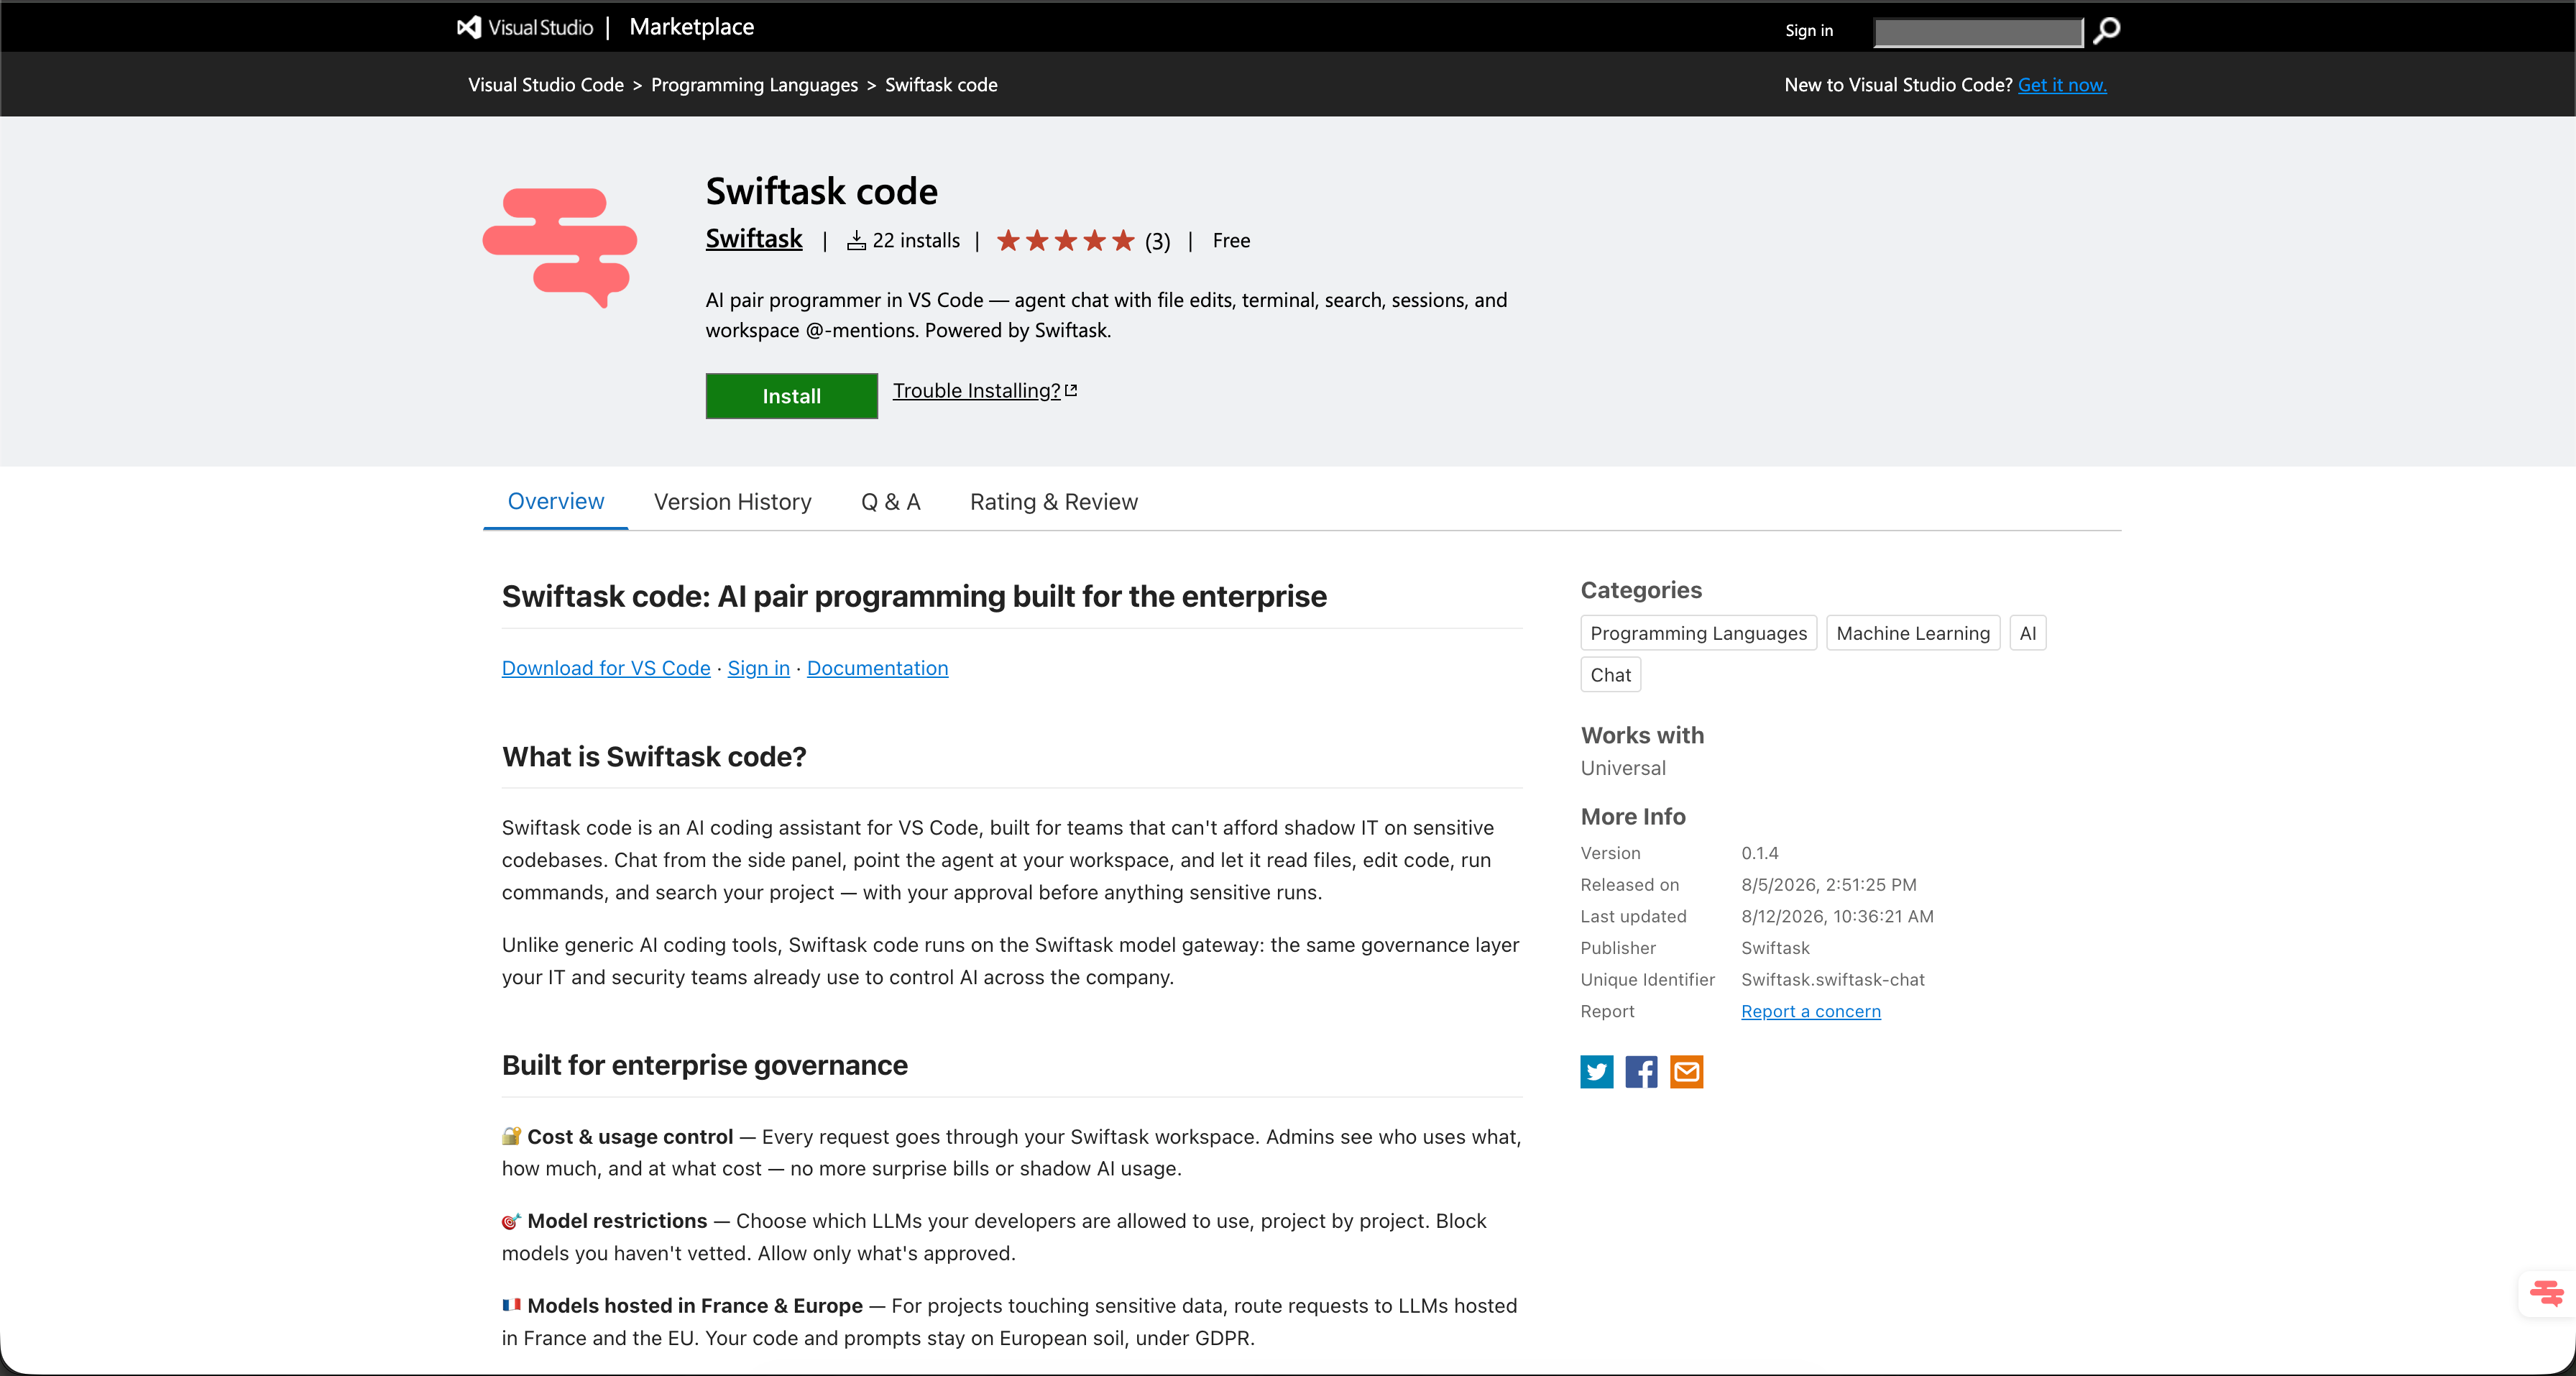
What you should see: Swiftask Code appears under Installed extensions with no errors.
2. Open Swiftask Code
Click the Swiftask icon in the left activity bar. The Sessions panel opens on the side.
If you're not signed in, you'll see a sign-in screen first.
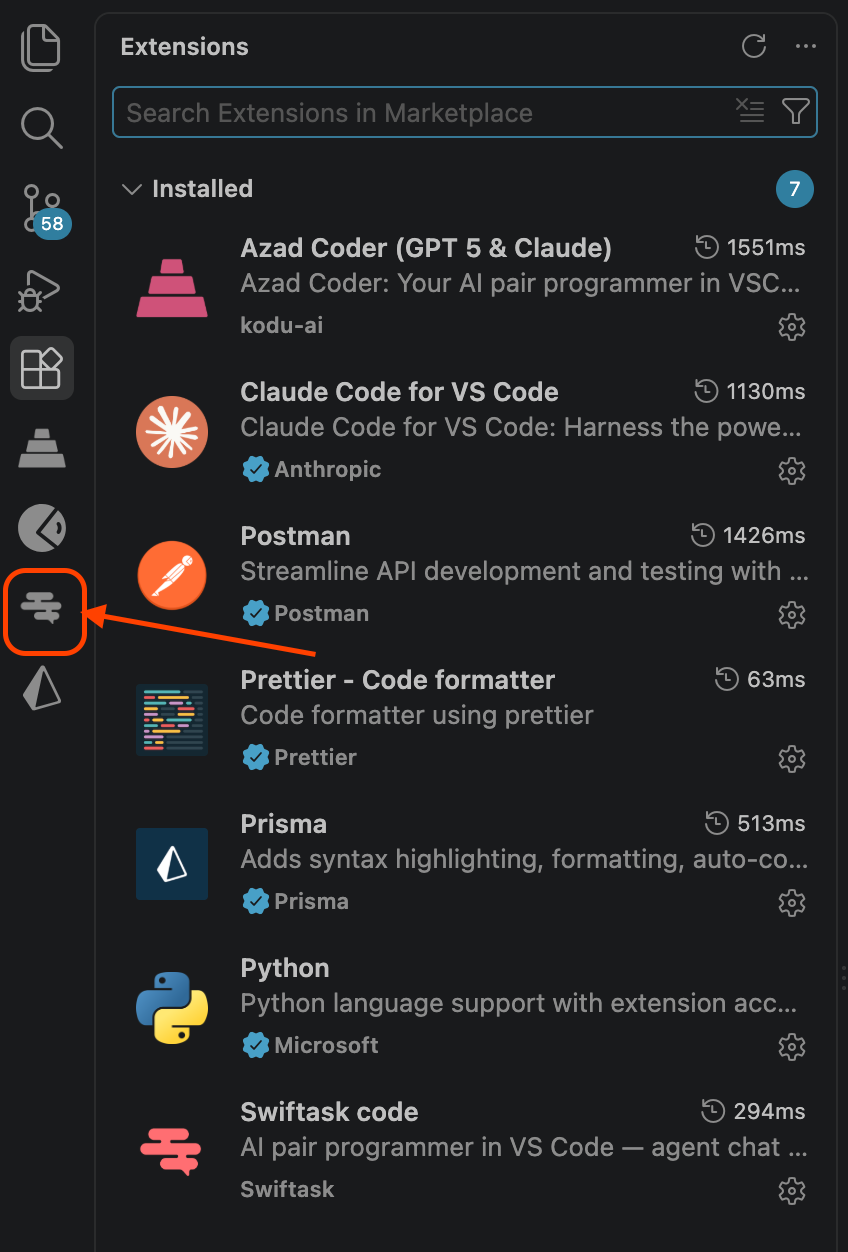
What you should see: The Talk starter welcome screen or sign-in prompt.
3. Sign in
Click Sign in in the panel
Complete login in your browser
Return to VS Code — you're ready to chat
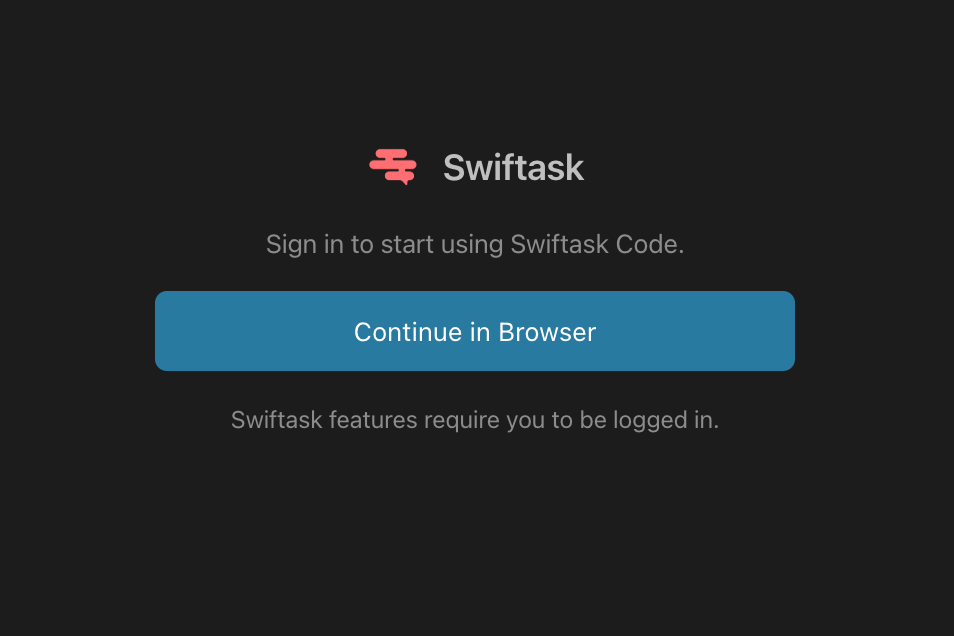
What you should see: The chat input at the bottom of the panel after the browser redirects back.
4. Send your first message
Type in the input at the bottom, for example:
What are the main parts of this project and what do they do?
Press Enter. Swiftask Code streams its answer in the chat.
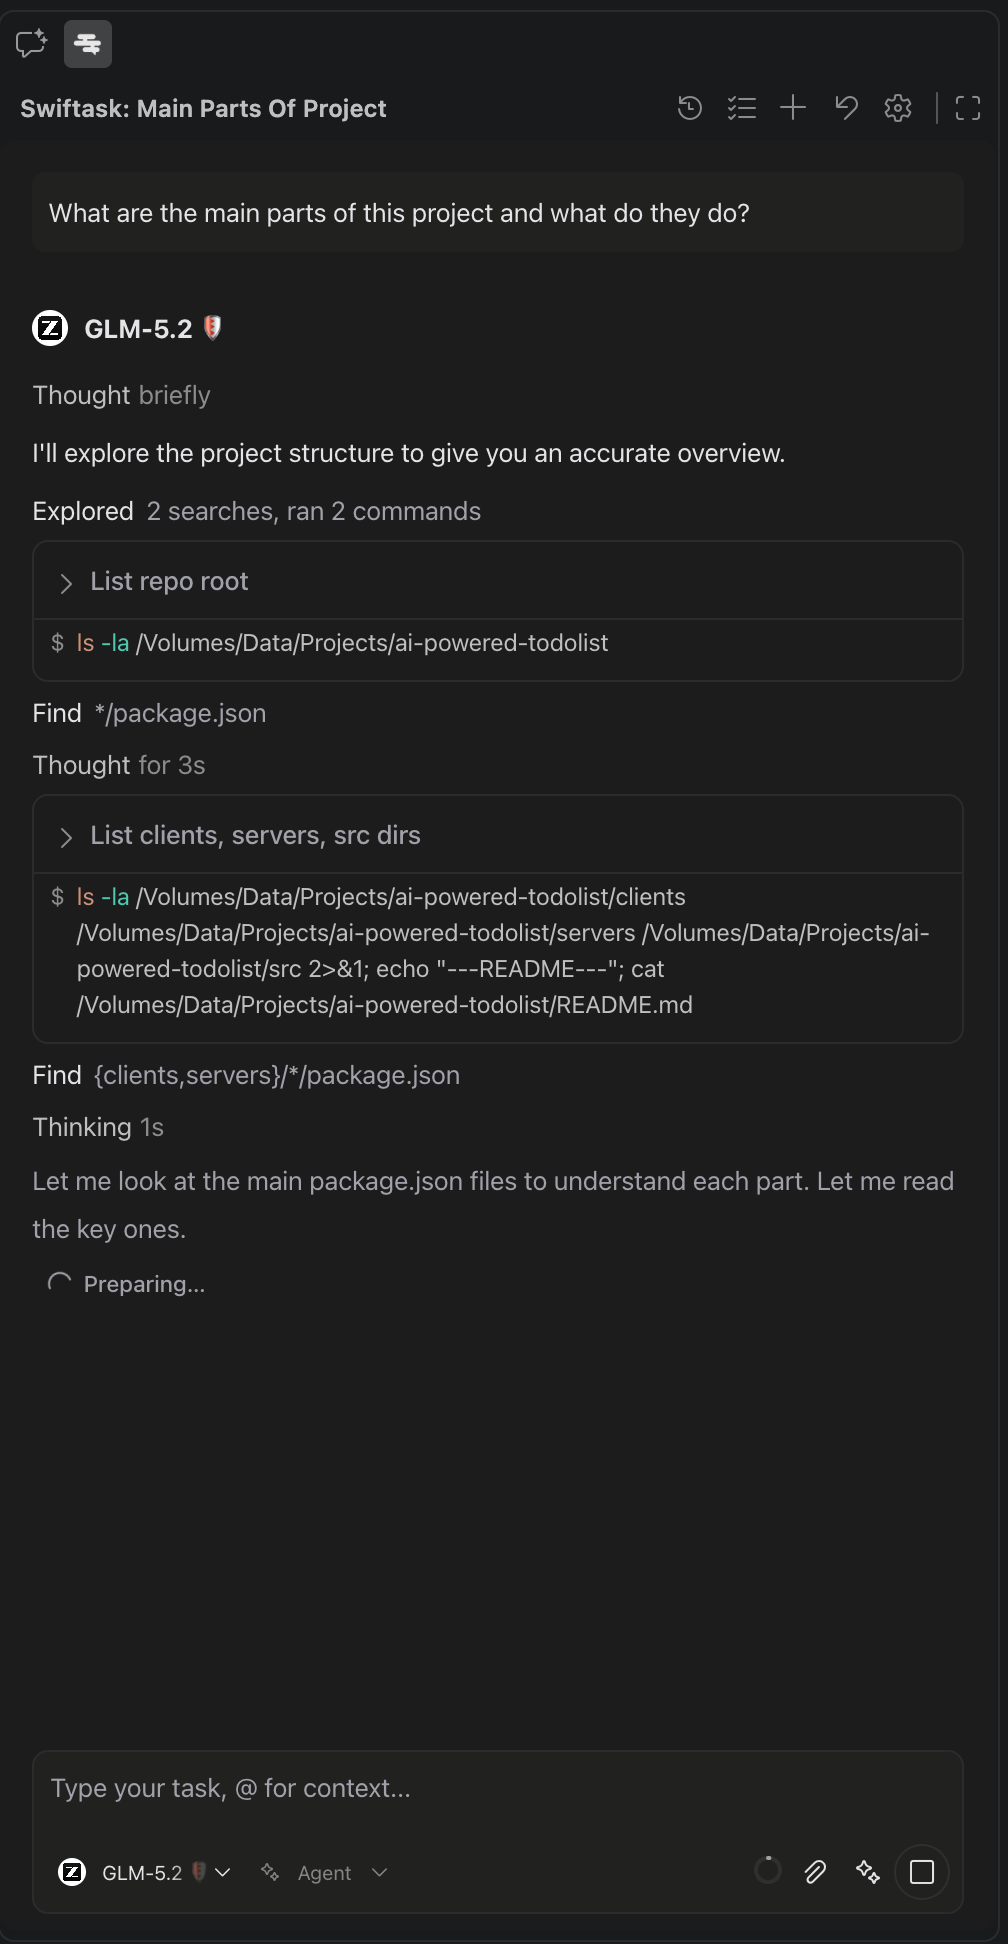
Tip: Start in Ask mode for a read-only overview — no file changes.
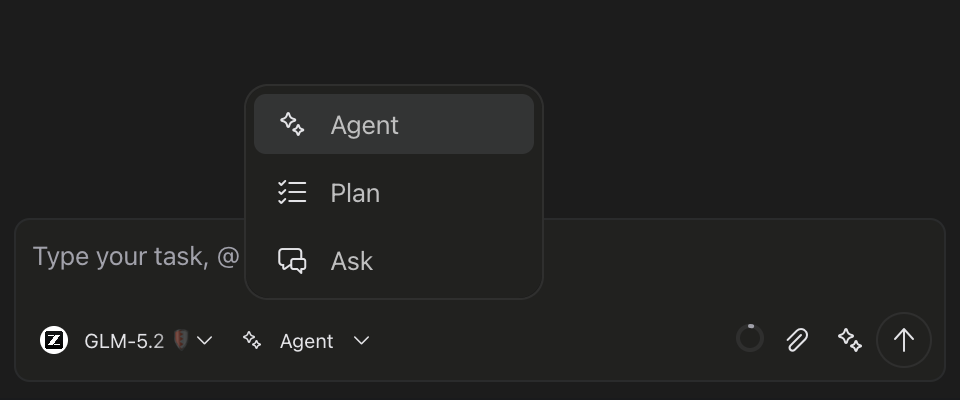
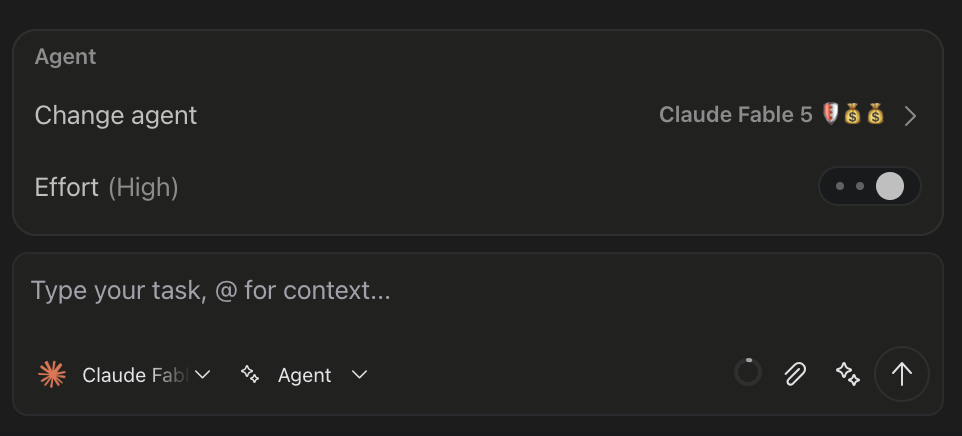
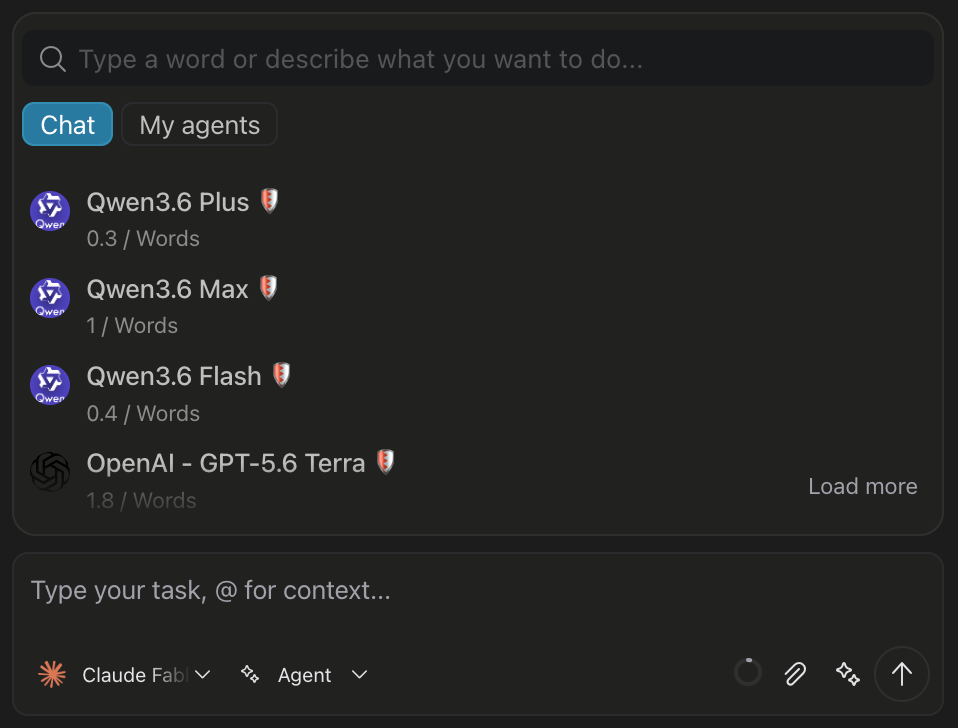
5. Choose a model and mode
In the chat input area:
Build is the default when you want to edit code or run commands. Ask for answers without changes. Plan for larger work you want to review before coding.
6. Give context
Swiftask Code already knows your open file and git status. You can also add:
@→ file, folder, terminal, branch, or URLEditor selection → right-click → Add to Chat
Files via the attachment button
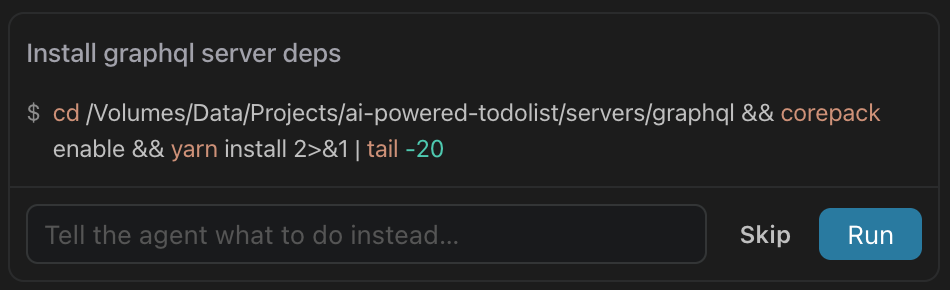
7. When Swiftask Code asks for permission
Depending on your settings, it may ask before editing a file or running a command. Choose Allow or Deny.
It may also offer multiple choices if your request is ambiguous — pick one so it can continue.
8. Review changes
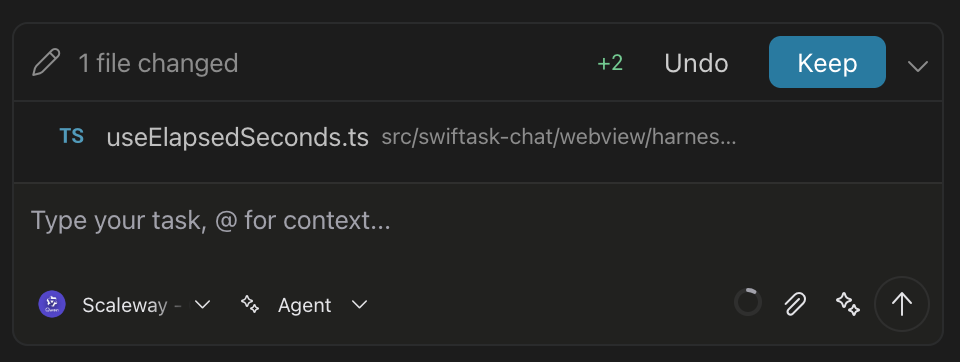
If files were modified, a Files changed section appears. Use Keep all or Undo all, or review file by file.
On a changed file, use Keep agent edits / Undo agent edits in the title bar.
Practical use cases
Understand your code
Learn how your project works without changing anything.
Ask how a feature works, where logic lives, or what a file does
@-mention folders or files to focus the answer
Use Ask mode — Swiftask Code searches and reads only
Build and fix
Turn a description into working code, step by step.
Describe features, bugs, or refactors in everyday language
Swiftask Code can edit files and run commands (with your approval when configured)
Review every change before you keep it
Plan before you build
Scope large work before any code changes.
Switch to Plan mode for multi-file or multi-day work
Get a structured plan in chat and in the Plans library
Click Build when you're ready to implement
Review every change
Stay in control of what lands in your repo.
Files changed in chat — Keep all, Undo all, or per-file
Open diffs before accepting
Keep agent edits / Undo agent edits in the editor title bar
First-time setup
A new developer installs the extension, signs in, and asks a read-only question in Ask mode to understand the codebase before making any changes.
Onboarding a teammate
Walk a new team member through Install → Sign in → First message → Choose mode, so they're productive within minutes.
Work under your organization's rules
Enterprise-ready without a side-channel API key.
Sign in with your Swiftask workspace
Use only models your admin approved
Usage and credits follow your company's Swiftask plan
Tips & best practices
Useful panel actions:
Keyboard shortcuts (optional): Swiftask Code doesn't ship default keybindings. Bind commands in VS Code Keyboard Shortcuts (Cmd+K Cmd+S / Ctrl+K Ctrl+S) — search for Swiftask.
Swiftask Code is one part of the Swiftask platform. For everything else, use the other sections of this Help Center:
Troubleshooting
Extension missing after install
Reload VS Code. See Help & FAQ.
Browser doesn't return after sign-in
Finish login, then run Developer: Reload Window. See Help & FAQ.
Additional resources
Start here:
Quick links:
Was this helpful?
Still need help? Ask the team